Volumetric Lighting – Part 1: The Basics
We all know lighting is key when it comes to filmmaking. If you don't understand how it works, how to mold it, and how to use it to your advantage, you will always wonder why your footage doesn’t look as good as the pros. Understanding the foundation of proper lighting is the primary gatekeeper that opens the doors to the film look. Volumetric lighting is another tool in your lighting tool box.


 One you have your lighting source, it’s important to shape the light to fit your desired effect. Most lights, like the ARRIs mentioned above, will have what are called “Barn Doors”. These are metal flaps that can be attached to the front of these lights and are used to direct and shape the area intensity of the light’s output. Simply using the barn doors to focus a small beam of light may be enough to facilitate a very unique lighting effect on set. Increase the number of lights to achieve multiple or more complicated effects.
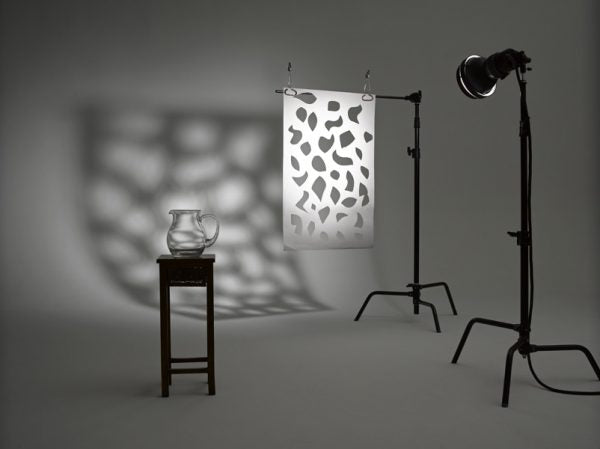
“Cookies” are another commonly used tool for creating unique volumetric lighting effects. A cookie in its basic form is a board (foam, metal or wood) that has patterns cut into it. When a focused light is placed behind the board, it projects these patterns through the light. To get started, purchase a large piece of foam core board and cut some “Y” shaped designs in it. I like cutting a row of Y shapes, upright Y and then upside down Y shapes in a row. Experiment with spacing, size, and lighting. This will give you a good idea on how to setup for your next production.
 Read Part 2 on Atmospheric Effects here.
What is Volumetric Lighting?
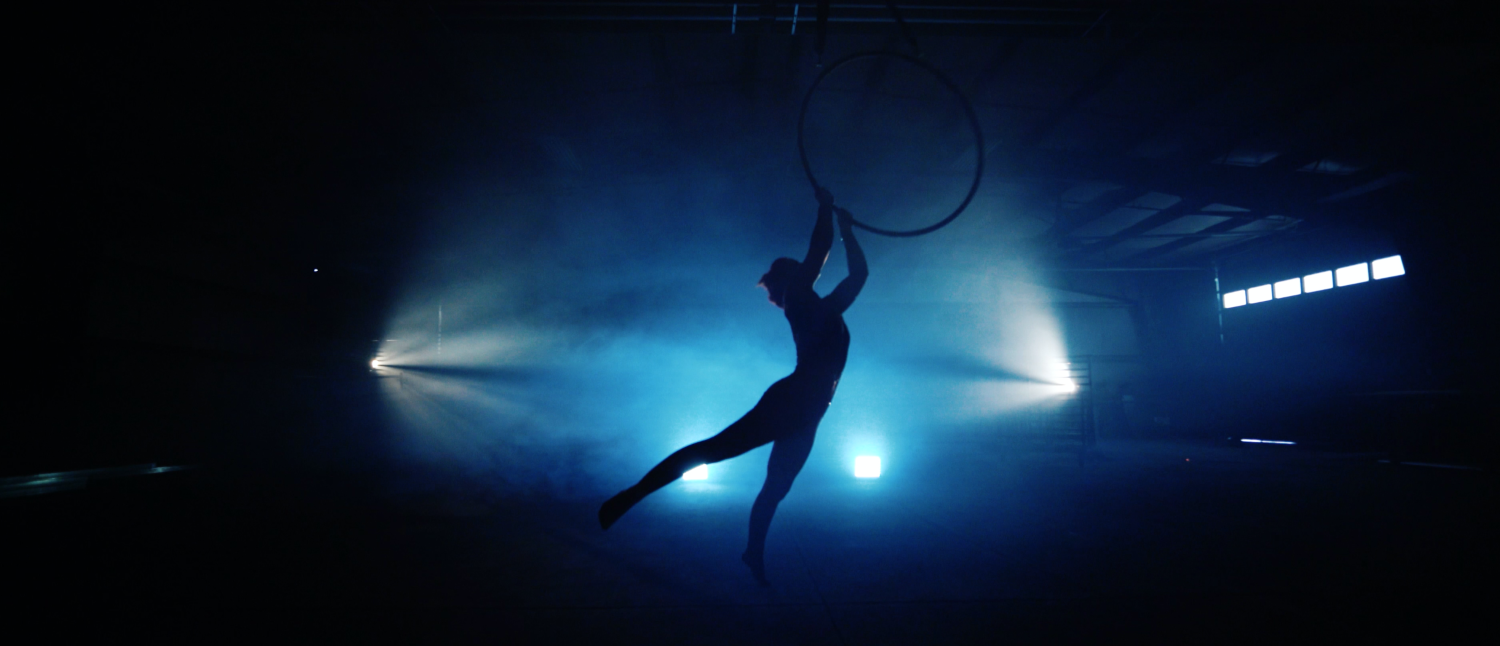
I recently worked on a project that included some aerial acrobatics via my ambassadorship with Zeiss lenses. In planning the shoot I knew that the talent was superb and that we would have access to a large warehouse space for production. I wanted to work with a very dramatic look that emphasized the movements and positions of the dancers. To do this, I utilized some basic volumetric lighting techniques using common equipment.
Volumetric lighting creating beams, depth and style on James Cawley’s recent Zeiss project.
Volumetric Lighting in filmmaking terms is defined as;
The light cone emitted by a light source that is modeled as a transparent object and considered as a container of a "volume": as a result, light has the capability to give the effect of passing through an actual three-dimensional medium (such as fog, dust, smoke, or steam) that is inside its volume, just like in the real world.
Whoa, a lot of complicated terminology, right? In simpler terms, volumetric lighting is controllable “rays of light” that you can see. Think of god rays breaking through the clouds after a storm, the cone of light a streetlight puts out on a dark night, or the beams of light coming into a dusty dark barn. These elements can be very cinematic and are utilized in many ways in most all Hollywood films. The good news is it’s not hard to achieve. All you need is a basic understanding of how it works and the right lighting and effects.
We cover all the atmospheric effects in part 2 (read part 2 here), so for now let’s focus on the actual lighting equipment.
Light Source
Maybe you are lucky enough to have natural light coming in and creating light rays. But be cautious! These will move and change very quickly. It is always preferable to control your light. Even if you just want outside light coming through a window or a door you should plan on having a light setup outside to keep that consistent and controlled throughout your scene.
Light rays through fog used on the set of James Cawley’s horror film “Wendigo Carnage”. With DP Chad Shellabarger and Gaffers James Brown, Doug Lindquist & Craig Katayama.
The best lights for volumetric creation are lights that can be focused and emit hard strong light such as an ARRI 1K, 2K fresnel or other very direct strong light source. Keep in mind that if your light is not strong enough you will not get the volumetric beam effects you are wanting. Consider natural lighting sources that create similar effects in the real world. Try to understand why the light is doing what it’s doing so you can attempt to replicate it.
Shaping Light
 One you have your lighting source, it’s important to shape the light to fit your desired effect. Most lights, like the ARRIs mentioned above, will have what are called “Barn Doors”. These are metal flaps that can be attached to the front of these lights and are used to direct and shape the area intensity of the light’s output. Simply using the barn doors to focus a small beam of light may be enough to facilitate a very unique lighting effect on set. Increase the number of lights to achieve multiple or more complicated effects.
“Cookies” are another commonly used tool for creating unique volumetric lighting effects. A cookie in its basic form is a board (foam, metal or wood) that has patterns cut into it. When a focused light is placed behind the board, it projects these patterns through the light. To get started, purchase a large piece of foam core board and cut some “Y” shaped designs in it. I like cutting a row of Y shapes, upright Y and then upside down Y shapes in a row. Experiment with spacing, size, and lighting. This will give you a good idea on how to setup for your next production.
 Read Part 2 on Atmospheric Effects here.


Leave a comment